-(1).jpg)
Green Thumbs Galore
We strive to be your favorite plant source.
Come see what's been added since your last visit.
Don't miss out., we are not a big box store and available quantities often are limited.
Shop for Plants Now
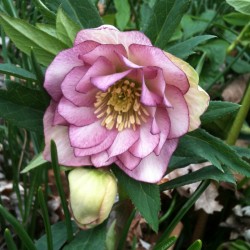
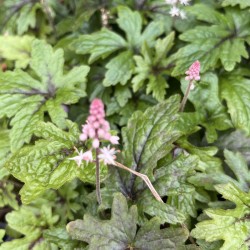
PERENNIALS
NO
2
<
>
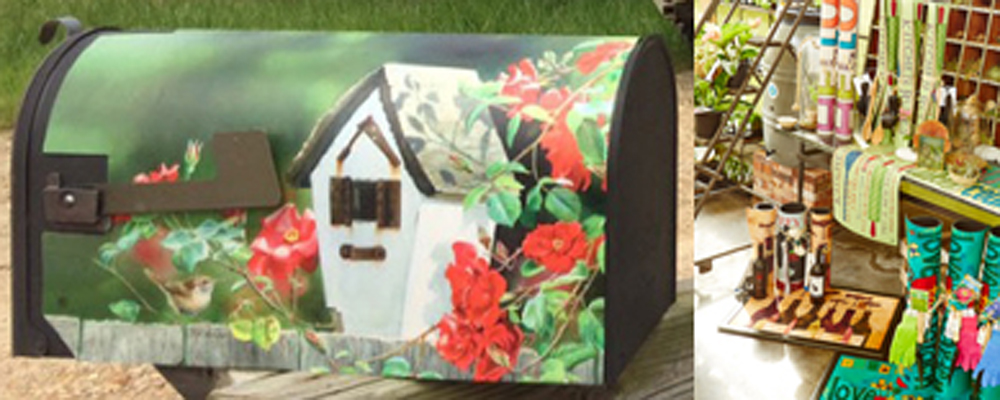
Green Thumbs Galore
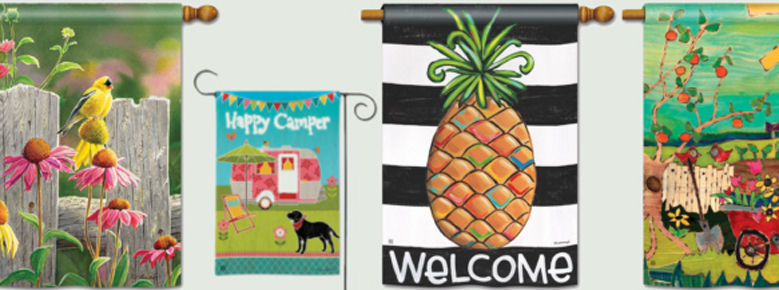
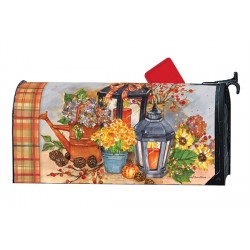
Spruce up your mail box with a seasonal cover, get solar powered LED Lights for your next Party or an inspirational angel for that special friend.
Our selections change frequently.
Shop for Home and Garden Decor Now
OUTDOOR LIVING
NO
3
<
>
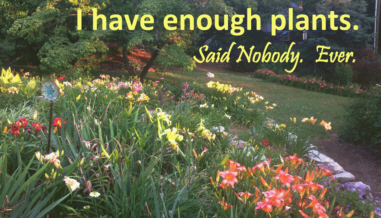
Let us inspire you!
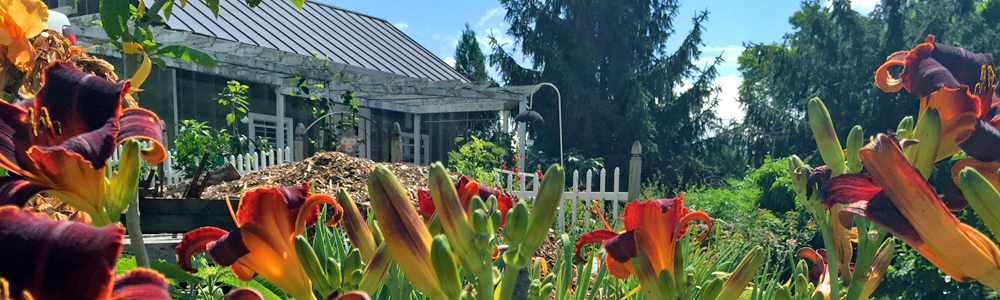
We are a husband (Jeff) and wife (Belle) team that has transformed their passion for gardening into a backyard nursery business. Our growing areas are inspected by the State of Tennessee Department of Agriculture and we are licensed to ship to all states.
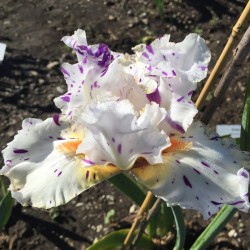
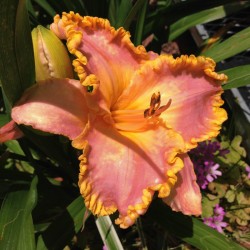
We grow plants naturally and ship bare-root. We love Iris, Daylilies, Brugmansia, and many more. The plants offered on this site have been grown in our gardens and survived our cultivation practice of 'benign neglect'. If you are looking to take your garden to the next level with unusual varieties that deliver success without demanding constant attention, come in and browse our store
Come and visit our booth at the Brainerd Farmers Market on Saturday mornings between 10am and noon at the corner of Brainerd Road and Belvoir. I love to talk about gardens and plants!
My blog is live (will open in new tab) with planting tips, craft ideas, and recipes.

Popular Products
New products

Daylilies
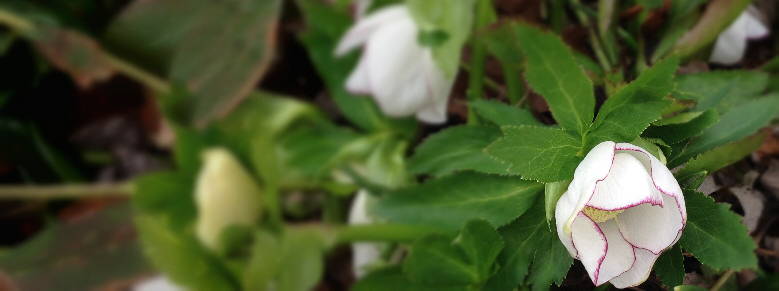
Welcome to Green Thumbs Galore LLC. It's Spring planting time
and the cooler weather is perfect to get a
headstart on your lilies.
SHOP NOW !